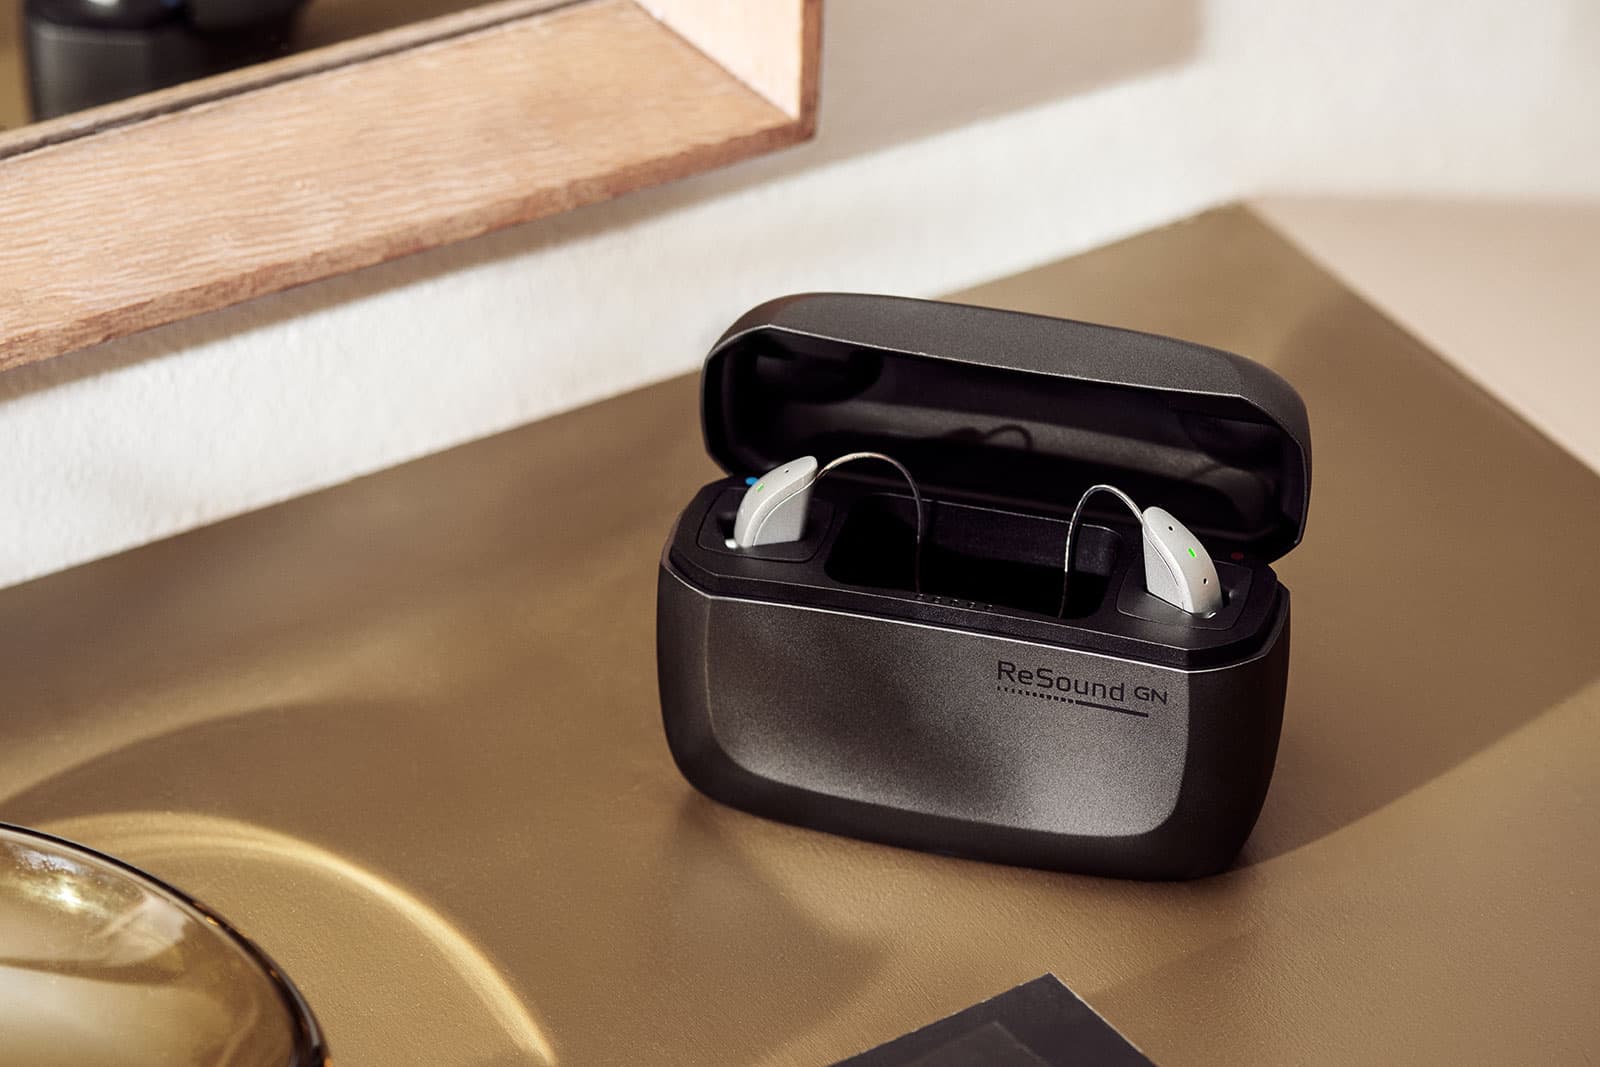
How to change your receiver in the canal (RIC) hearing aid’s wax filter
Did you know that your hearing aid has a wax filter or wax guard? The wax filter prevents ear wax getting into your hearing aid’s delicate receiver components, so it’s important to change them occasionally, or if your hearing aid is not working as well as it should be, or sounds unusually dull.
In this video, Adam Bostock, senior audiologist here at Alto Hearing & Tinnitus Specialists, is going to demonstrate how to change the wax filter in a receiver in the canal (RIC) hearing aid, one of our most popular styles of hearing aid.
Hi everyone, it’s Adam here from Alto Hearing & Tinnitus Specialists.
If you have receiver in the canal (RIC) hearing aids, the best way to keep them clean is to wipe the silicone tips down when you take them out and, if you see any debris, then gently brushing it out, ensuring the receiver can transmit sound down your ear canal.
Sometimes, however, even after you’ve cleaned it this way, you might notice your hearing aid sounding a bit more dull than usual. Ever so occasionally, it may not even be working at all. The first port of call when this happens is to change the wax filter.
This is a really simple thing to do, and you start by removing the silicone dome at the end of your hearing aid receiver. Just pinch at the end of it and pull, being careful not to tear it.
Place this dome to one side and get your packet of wax filters. They often look like this but, occasionally, might be in circular packs. When you take one of the sticks out of the pack you will see one end has a new filter on it, and the other end has a tool to remove the existing filter.
This is the end we use first. To remove the old filter you simply push the tool into it, twist, and then pull it back.
Then you turn the stick around and push the new filter into the receiver, twist, and pull back again. The new filter will now be sitting nicely in the receiver.
Once you’ve done this, you then need to replace the dome you took off previously. You place this onto the end of the receiver and push it on so it is secure. It is absolutely vital to check that it’s on all the way, and just pull it gently to check this – we don’t want this falling off in your ear canal.
Once you’ve checked it, you’re all done and ready to go. Your hearing aids should sound as good as new.
The Latest
Why Background Noise Makes Hearing So Much HarderHearing Loss and Hearing Aids: How to Choose the Right HelpThe Hearing Event: Education Before DecisionDamped ear hook: why there’s a mesh inside your hearing aidDiabetes and hearing loss: the overlooked link, early signs and when to get tested