Receiver in the canal (RIC) is one of our most popular styles of digital hearing aid, due to the fact that they are incredibly discrete and suitable for a wide variety of hearing losses.
To get the most out of your RIC hearing aids, it’s important that they are inserted correctly. In this video, Adam Bostock, senior audiologist here at Alto Hearing & Tinnitus Specialists, is going to show you how to correctly insert and extract your RIC hearing aids.
Hi, my name’s Adam Bostock, I’m the audiologist here at Alto Hearing and Tinnitus Specialists.
In this video I’m going to show you how to insert and extract your receiver in the canal hearing aid.
Receiver in the canal hearing aids are really popular, due to the fact they are incredibly discrete and cover a wide variety of hearing losses.
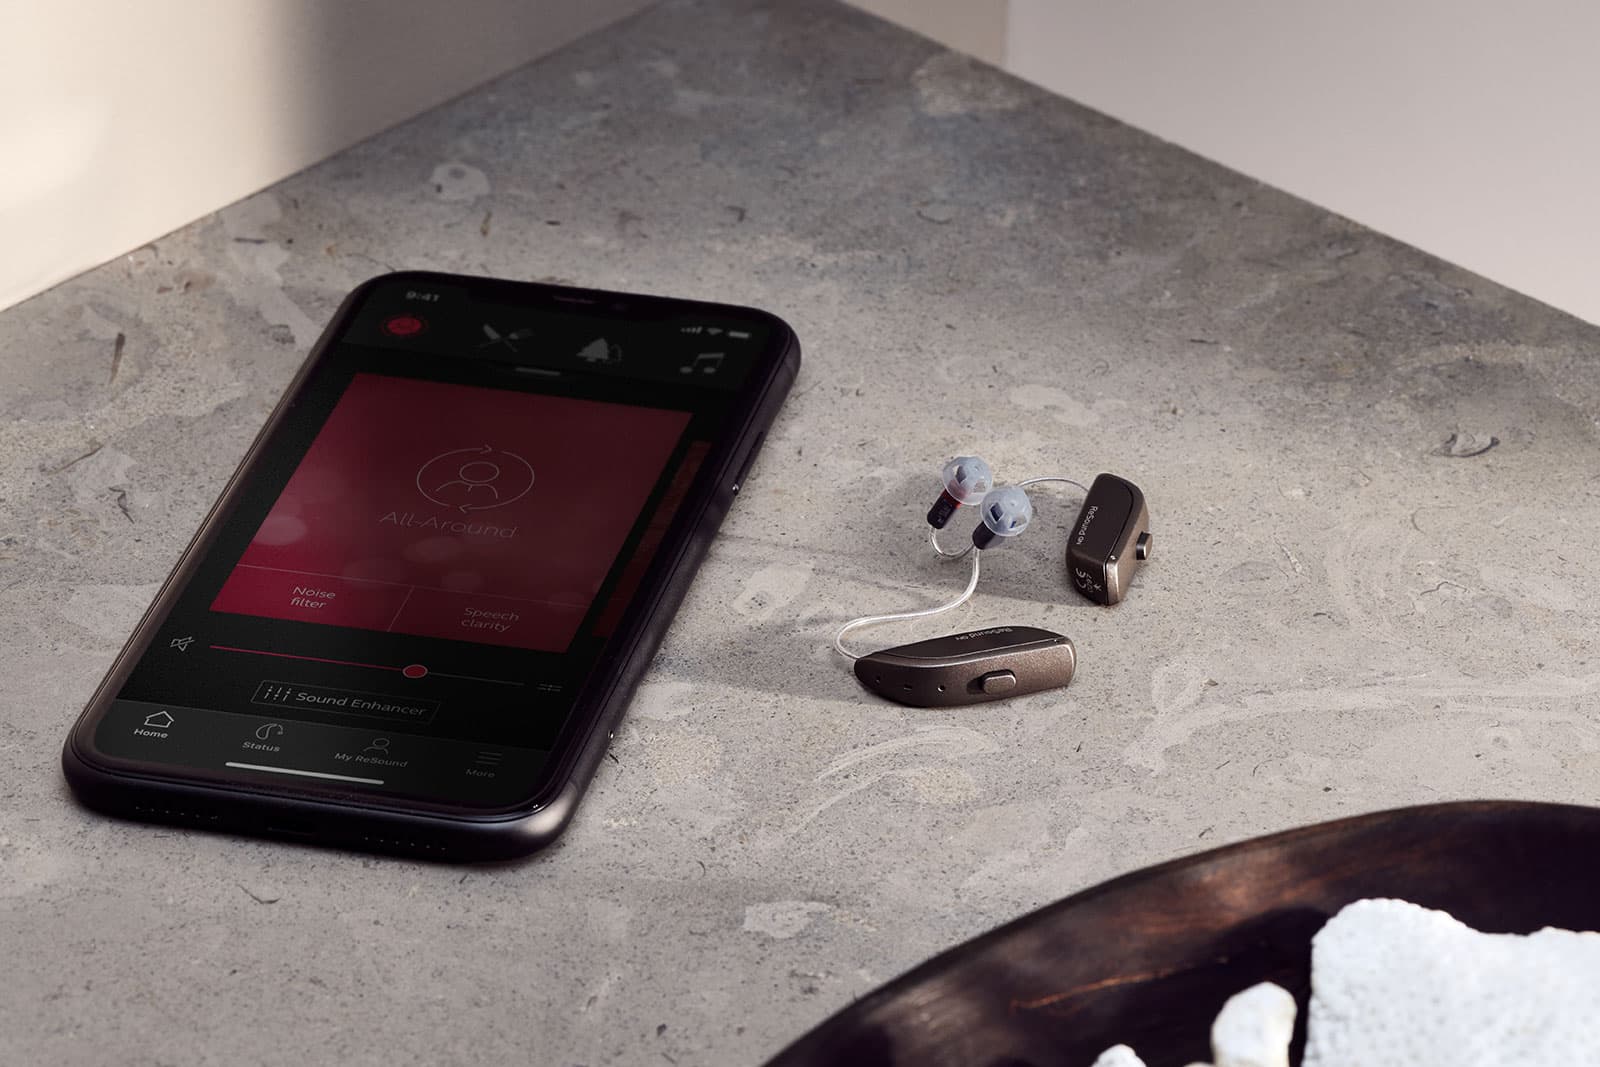
There are two parts to a receiver in the canal hearing aid; the unit which houses the microphones and components alongside the battery, which nowadays is often rechargeable. This sits behind your ear. Then you have what we call the receiver, which is the speaker that sits inside your ear and will either have a silicone dome or a custom earpiece attached to it.
When you first get a receiver in the canal hearing aid, it can be a bit tricky to make sure you’ve got it in correctly, especially when you can’t really see what you are doing!
It is important to make sure you do have it in correctly though, one, to make sure it is secure and won’t fall out, and, two, if it’s not inserted properly you can be losing up to 10 decibels (dB) of gain, which in simple terms means you aren’t going to be hearing as well as you should.
When you get your new hearing aids, it’s a good idea to spend some time practicing inserting them and then taking them out at home, which will give you the confidence and make it much easier in the future. Before you know it, it will become second nature. It’s also beneficial to use a mirror when you are first practising.
So, first of all you need to know which hearing aid is going in which ear. The right hearing aid will normally have a red marker on it, and the left hearing aid will be blue.
If you have a battery, make sure the door is fully closed. If you have a rechargeable hearing aid, you can just take it out of your charger. Then, what I do is place the hearing aid over my ear, and let the receiver part just hang down near to the opening of my ear canal.
Then, very gently, insert the receiver into your ear canal, sliding it down. You may need to push it a little bit with your finger. A good tip here is if you pull back gently on your ear with your other hand you can open up the ear canal a little and it will slide in a bit easier.
The biggest problem people have here is not pushing it down far enough. It’s important to make sure it is deep enough down your ear canal for the receiver wire to sit flush to the side of your head. That’s when you know you’ve got a great fit.
On some devices, you may have a sports lock. This is a small plastic strip which provides extra security against the hearing aid falling out. To put this in you just follow the same procedure as before, and then take the small plastic strip and place it into the bowl of your ear.
If you have a ReSound hearing aid, you can use the check my fit feature on the ReSound app to take a picture of your ear and compare it against a photo of it inserted correctly. This is a fantastic way of ensuring you are going to be hearing as well as possible.
To take your hearing aid out, it’s very simple. Just lift the device up from behind your ear, and then gently pull the receiver out of your canal. Really easy!
I do hope this video’s been useful. Please find more information on hearing aids, earwax removal, tinnitus, and hearing protection at altohear.co.uk.
The Latest
Why Background Noise Makes Hearing So Much HarderHearing Loss and Hearing Aids: How to Choose the Right HelpThe Hearing Event: Education Before DecisionDamped ear hook: why there’s a mesh inside your hearing aidDiabetes and hearing loss: the overlooked link, early signs and when to get tested